 Controlling a Servo Motor
This is a quick tutorial on how to use BlueJ on the Raspberry Pi to control a servo motor using Soft PWM (Software Pulse Width Modulation). It is not intended to be a complete description of how to use the pins: for that, see the sections called Under the Hood. For more information about what servo motors are and how they work, please click here
This tutorial will make use of the project ServoMotor, which should be downloaded and open in your BlueJ running on the Raspberry Pi.
Material
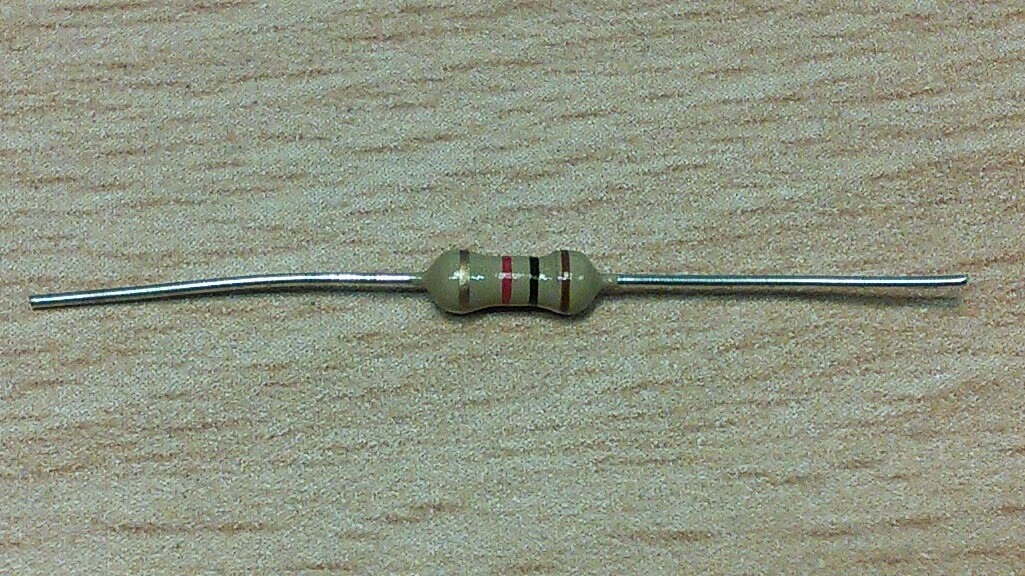
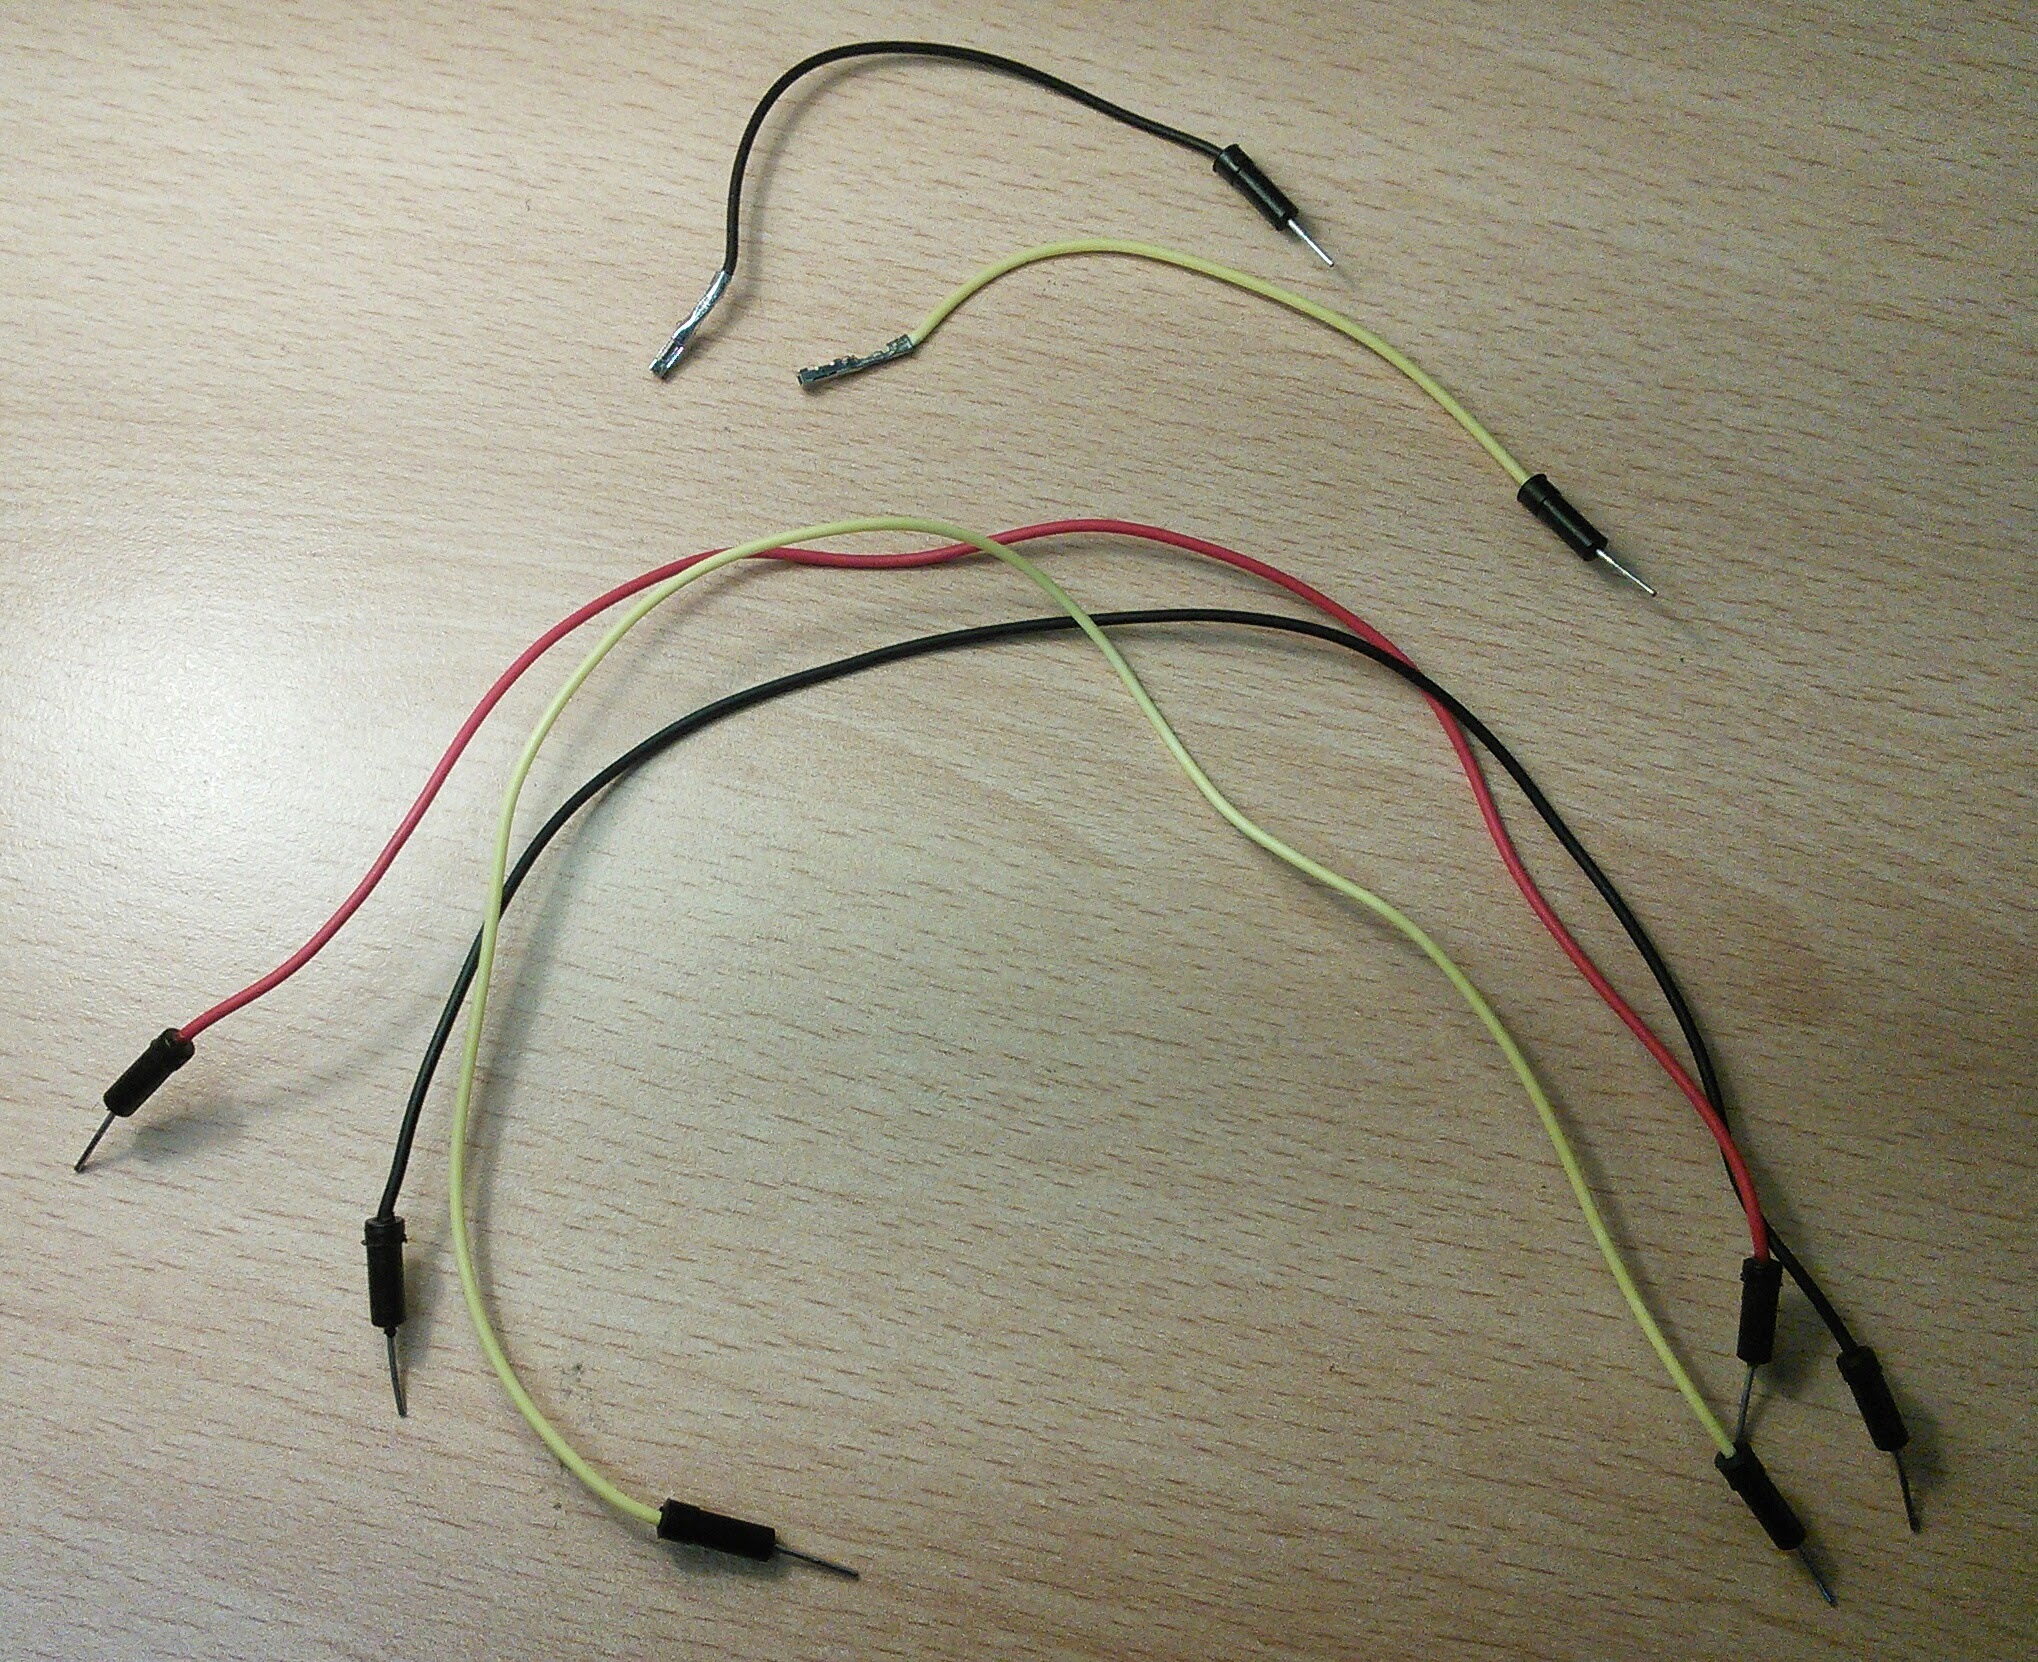
For this experiment, we will need:
- 1 servo motor

- breadboard
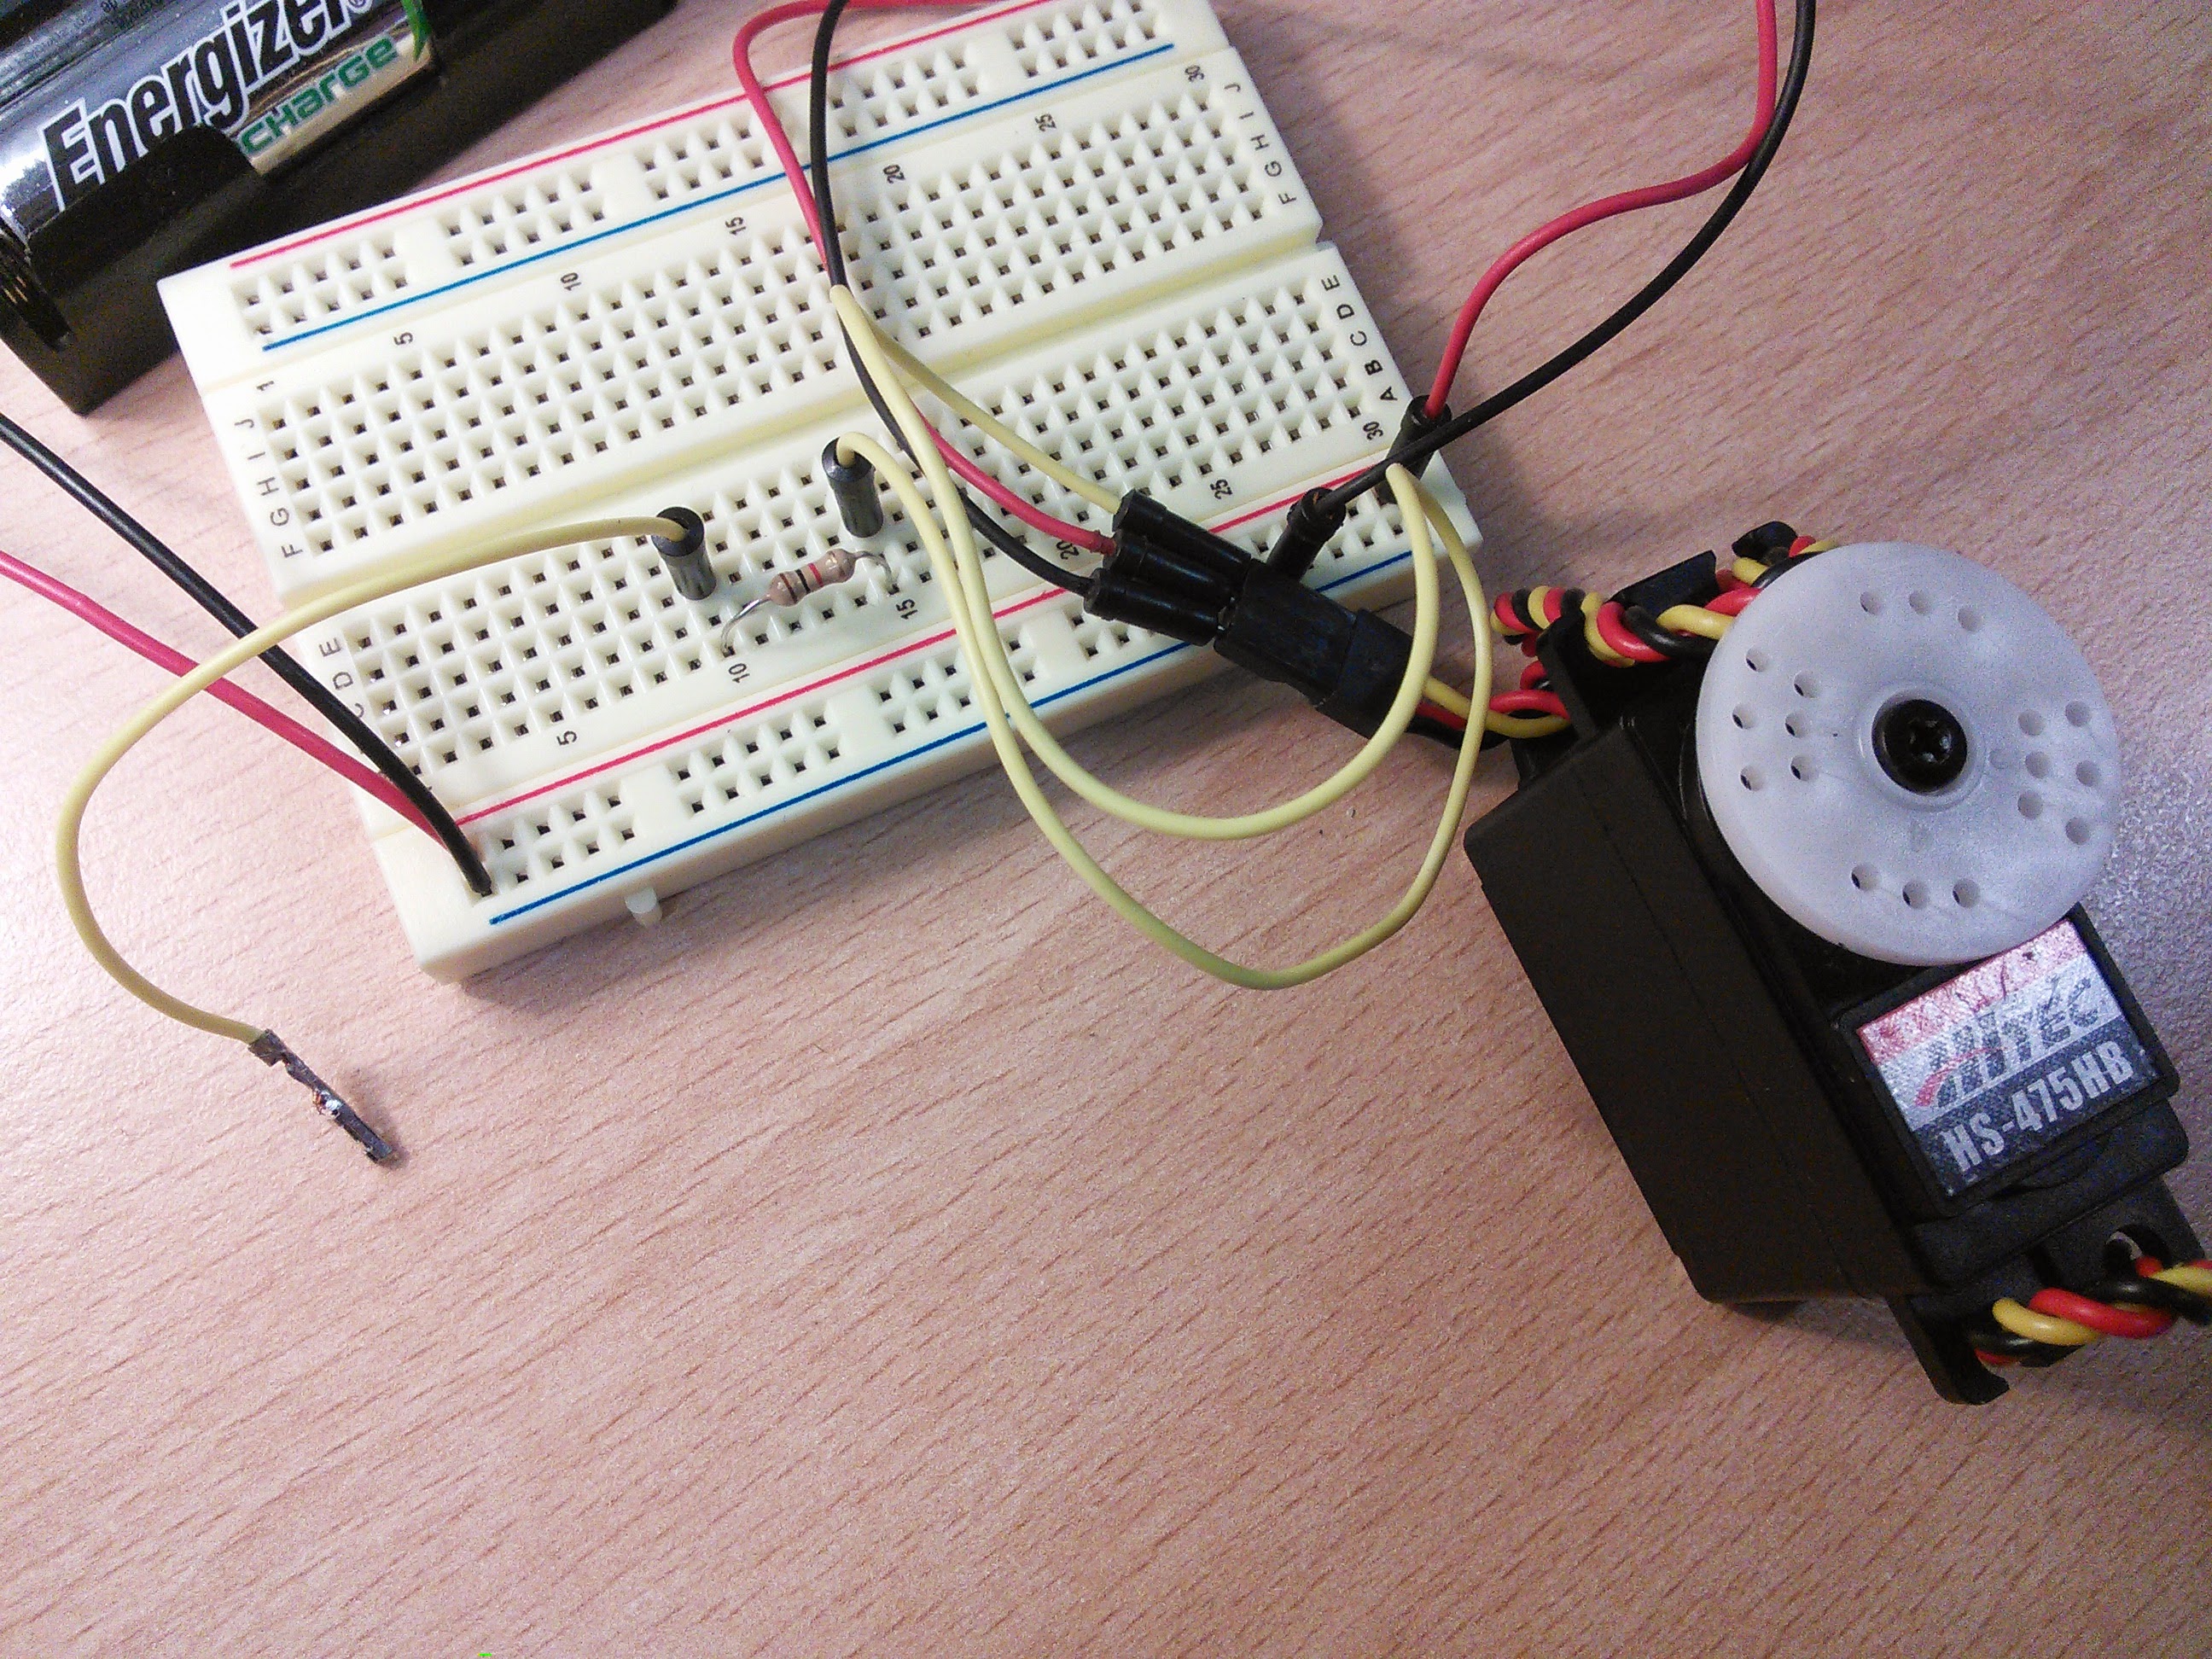
- 1 Resistor (1 kΩ)
- 5 jump wires (2 male-female, 3 male-male)
- 4 batteries and battery support

Assembly
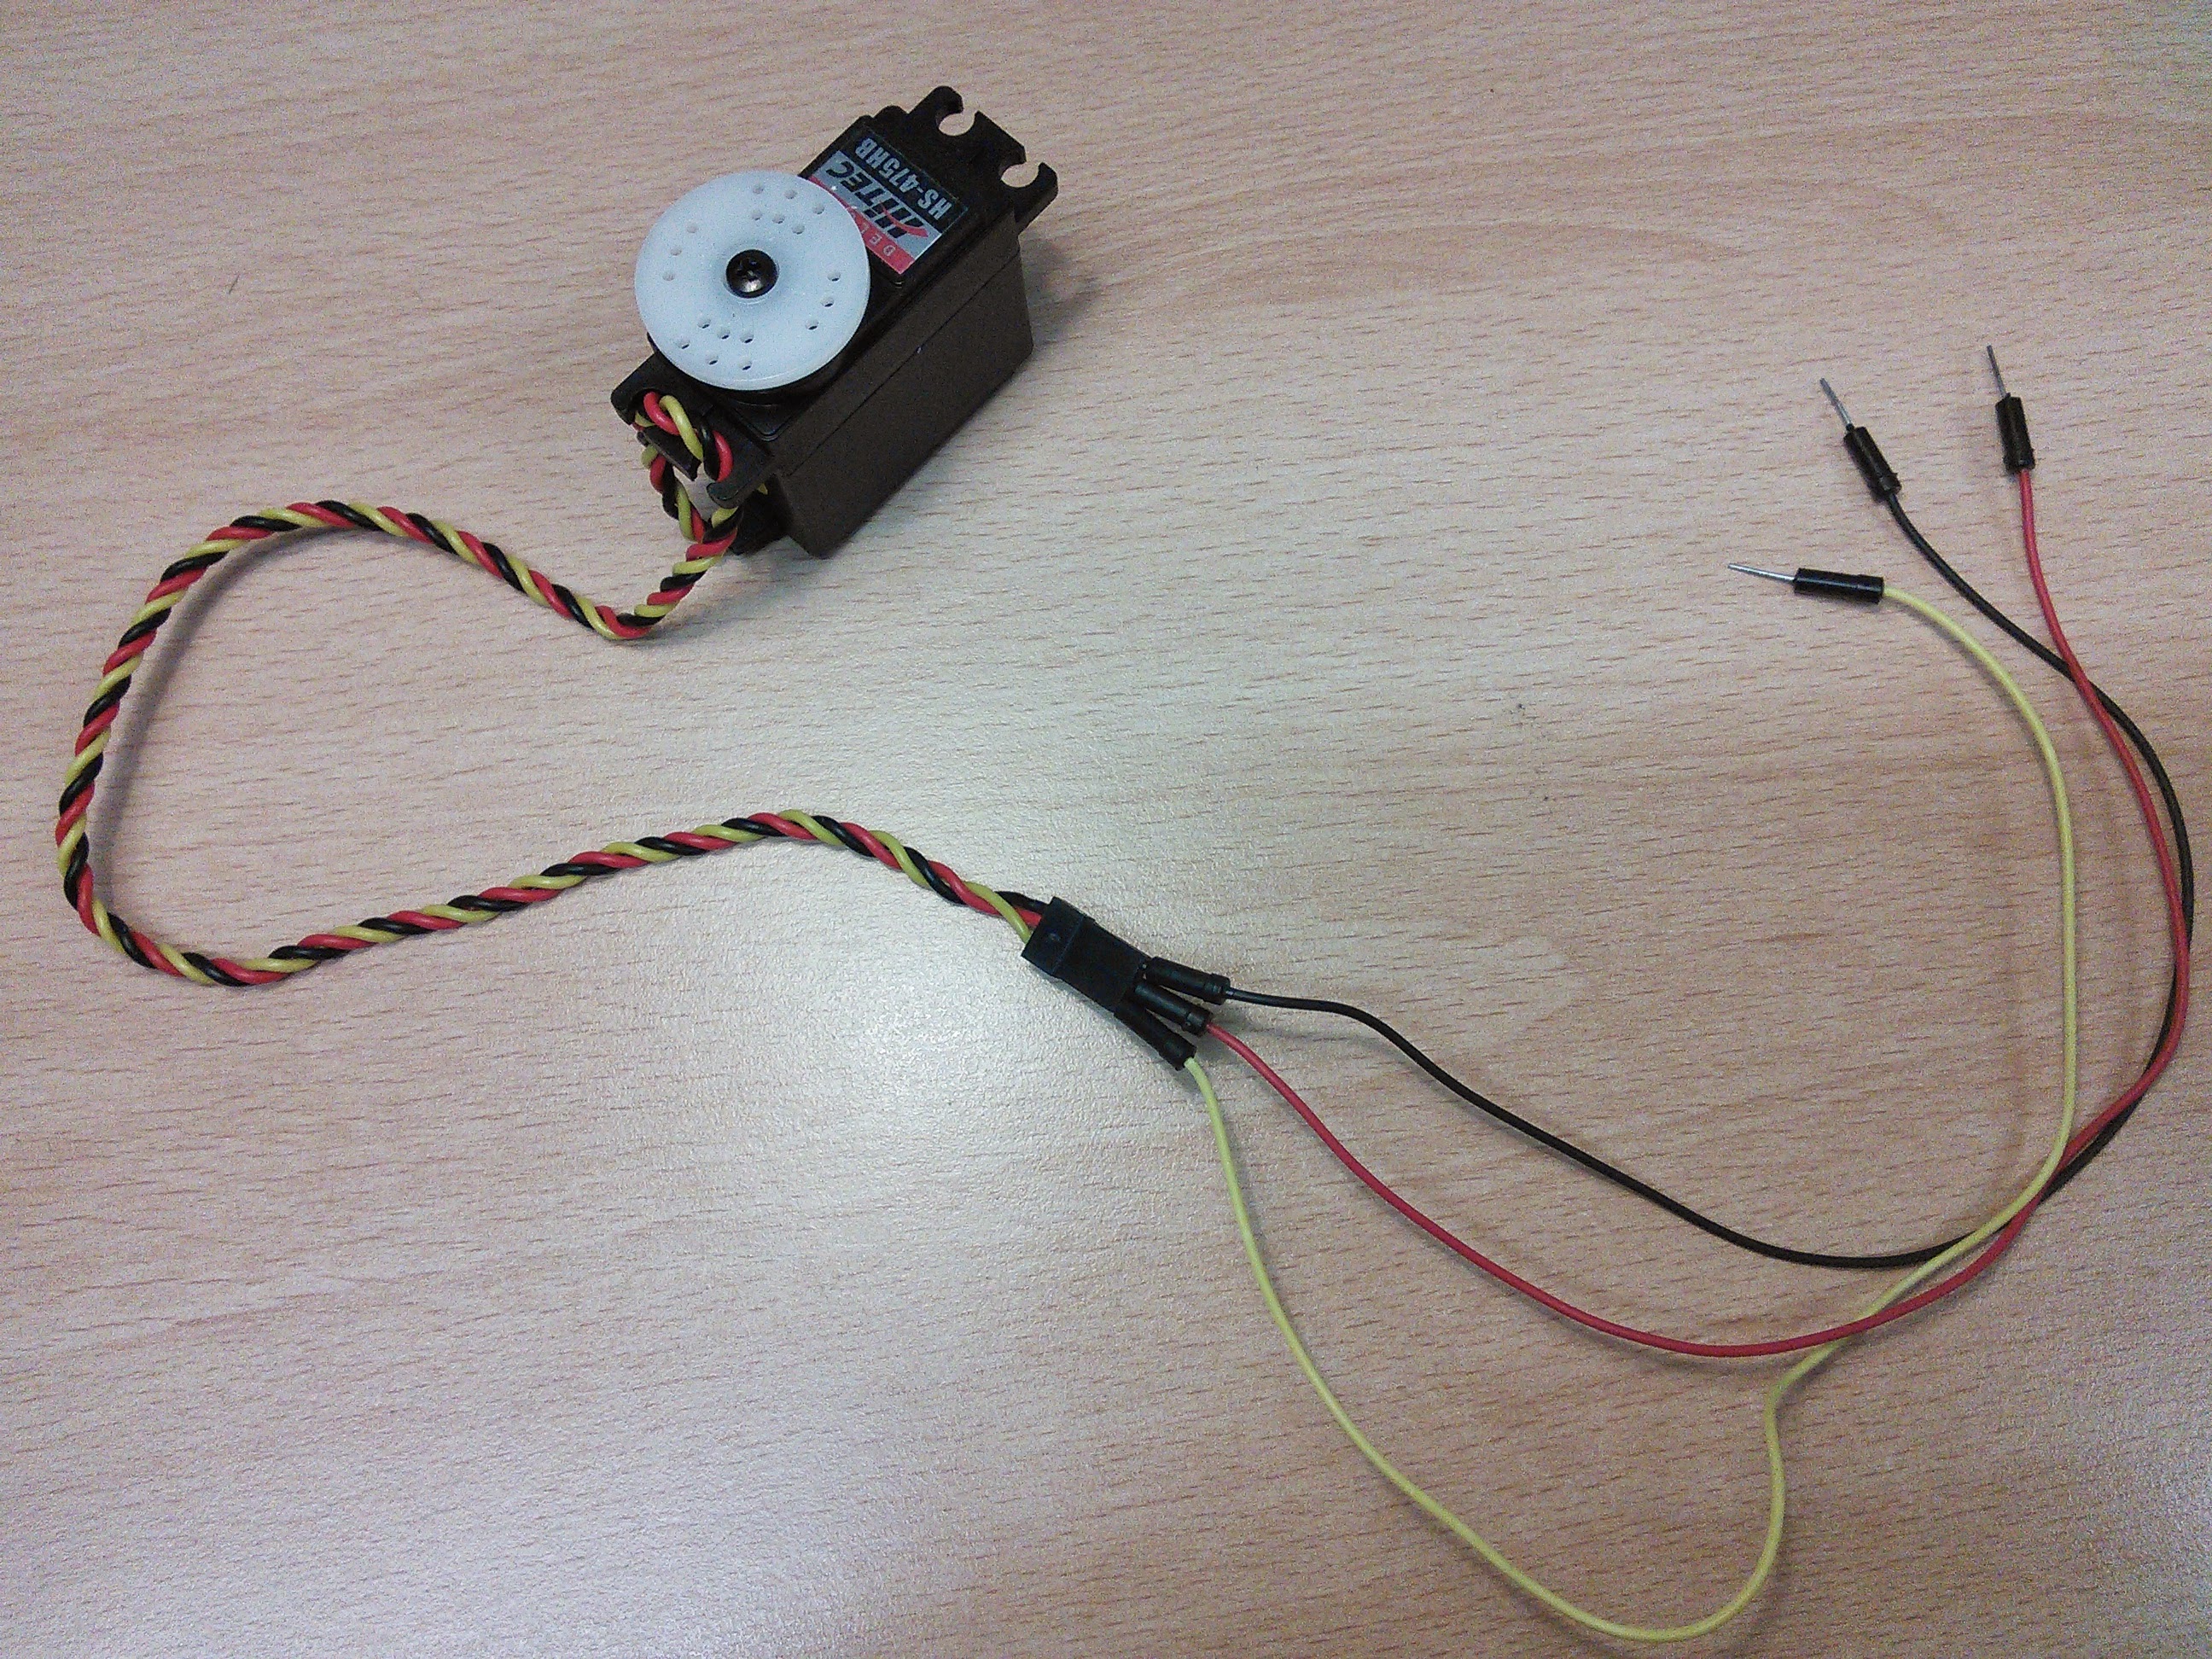
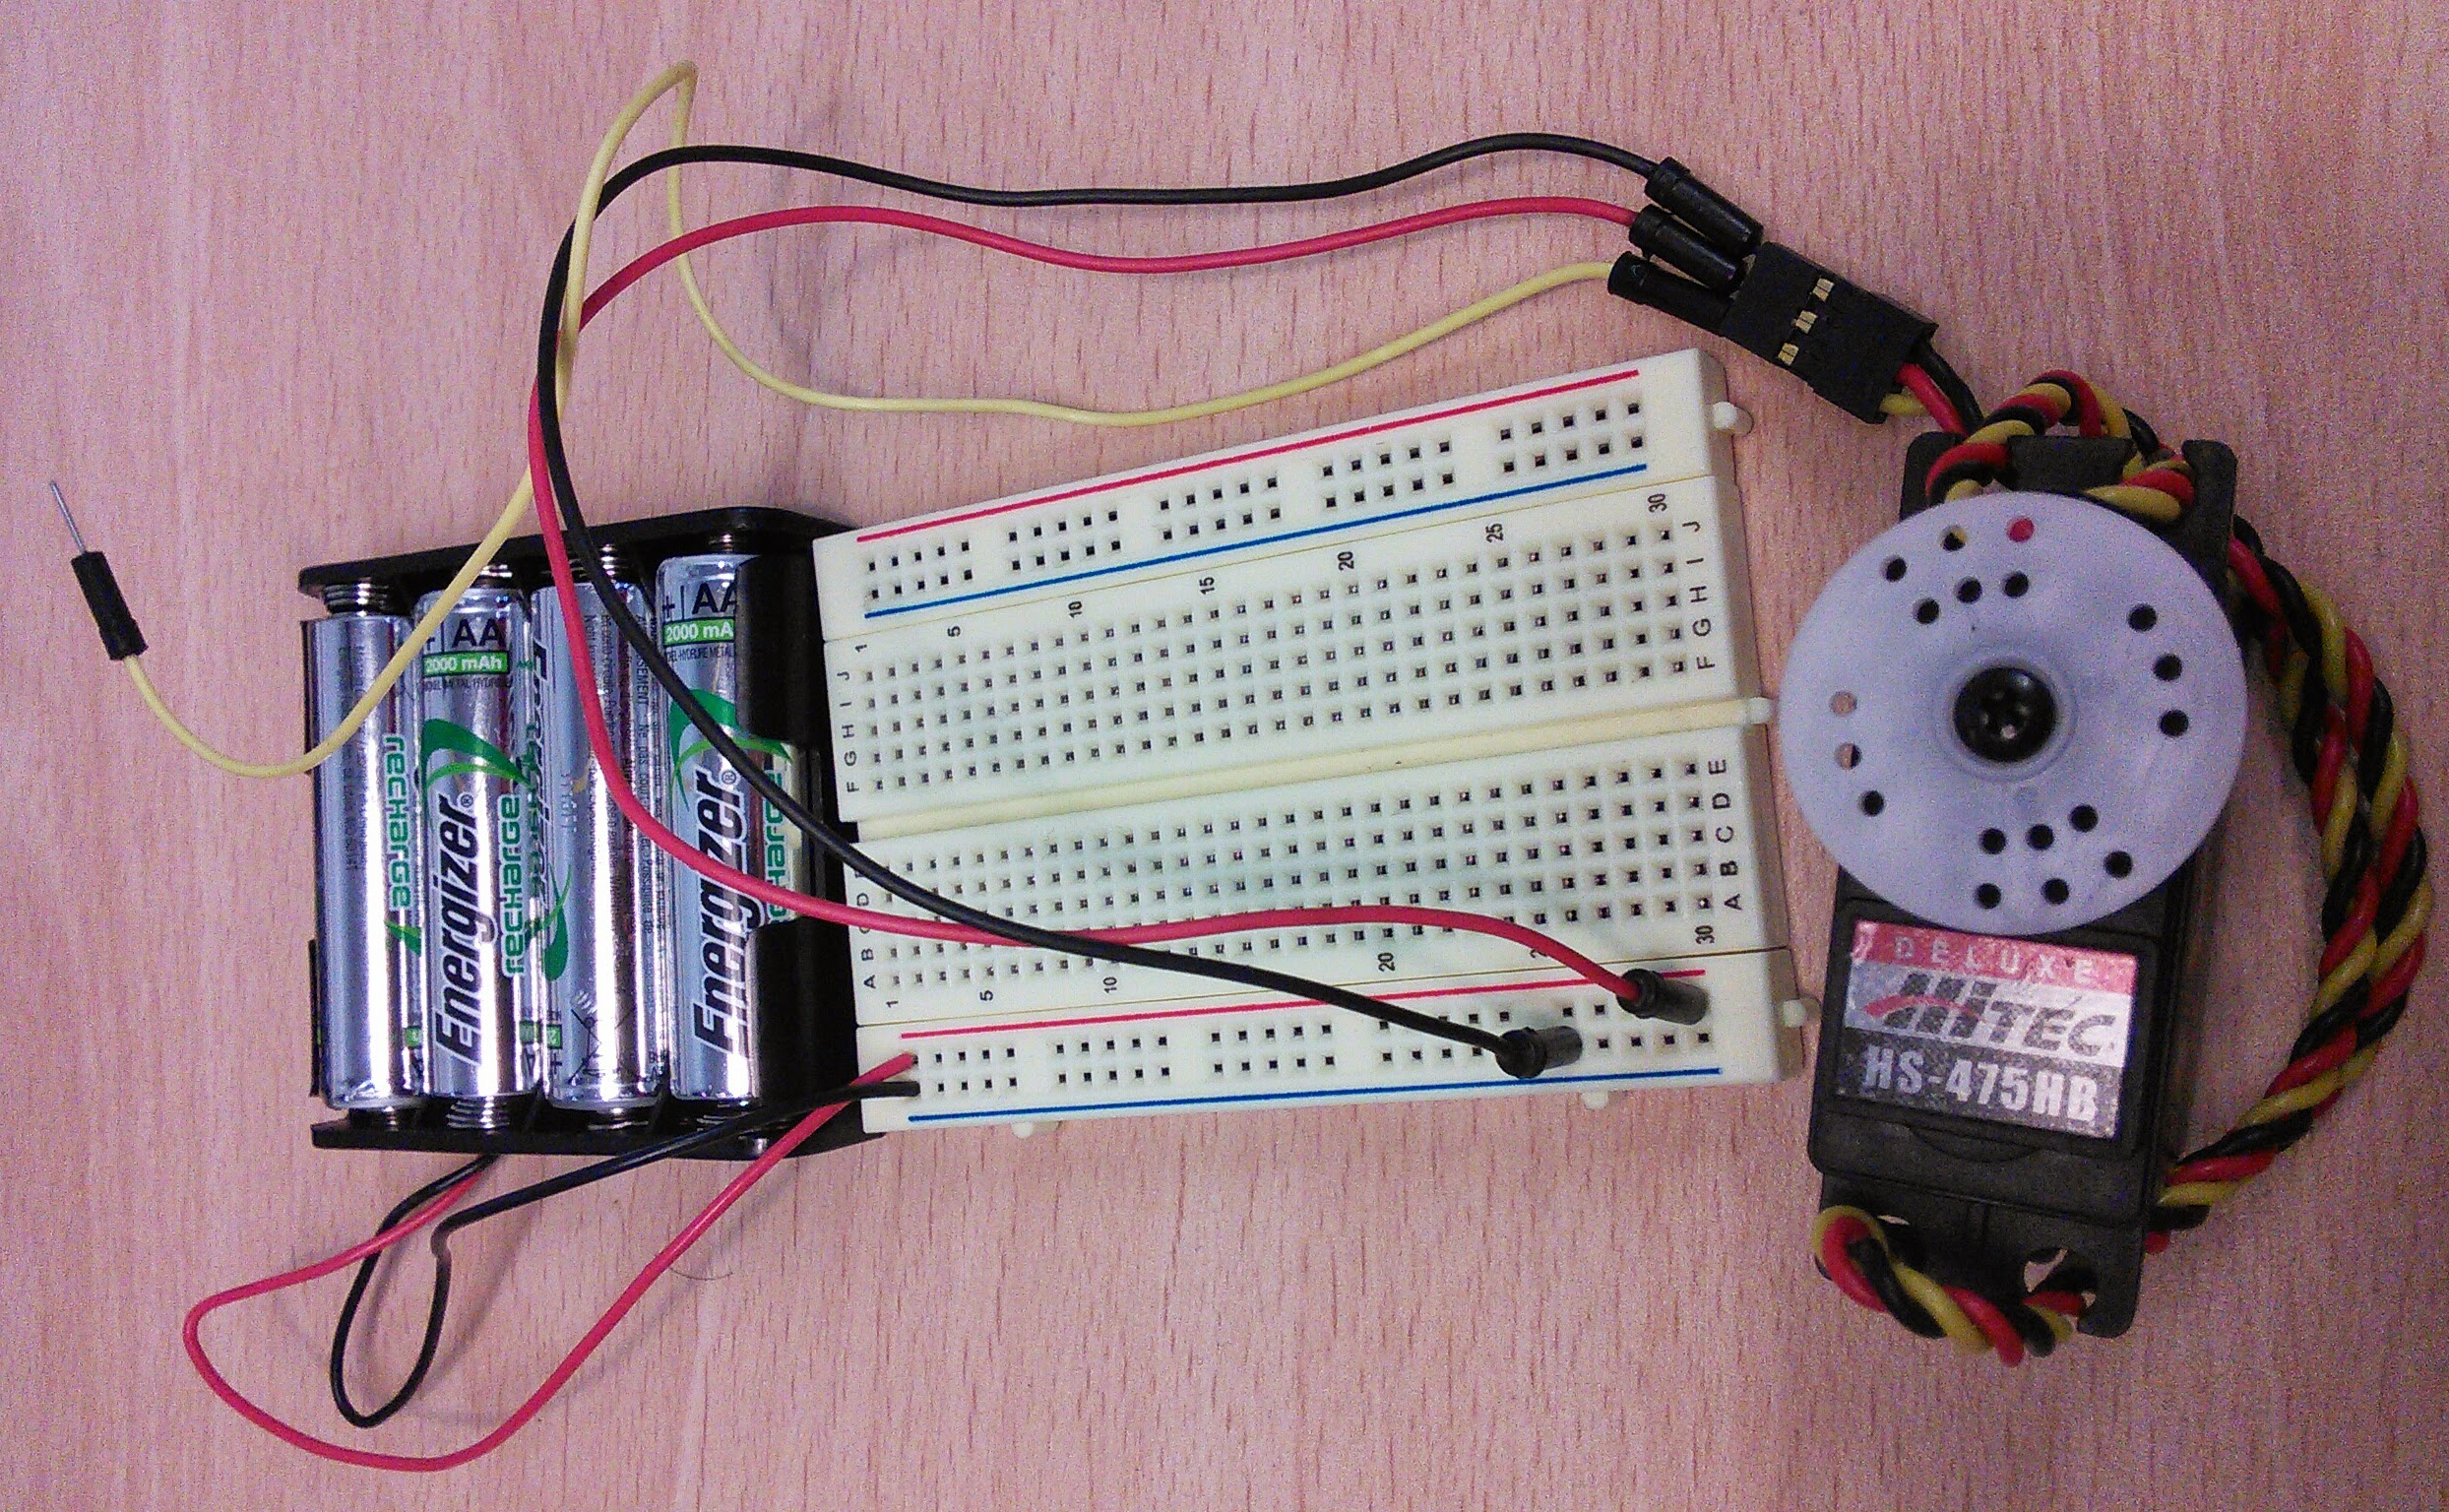
The servo motors have three pins, two for power: red(+) and black (-), and one for control. Because the servo motor draws too much energy, we need to use the batteries to power the servo (the Raspberry Pi doesn't have so much power. if you try to use the 5V power of the raspberry pi, you may freeze your Raspberry Pi).
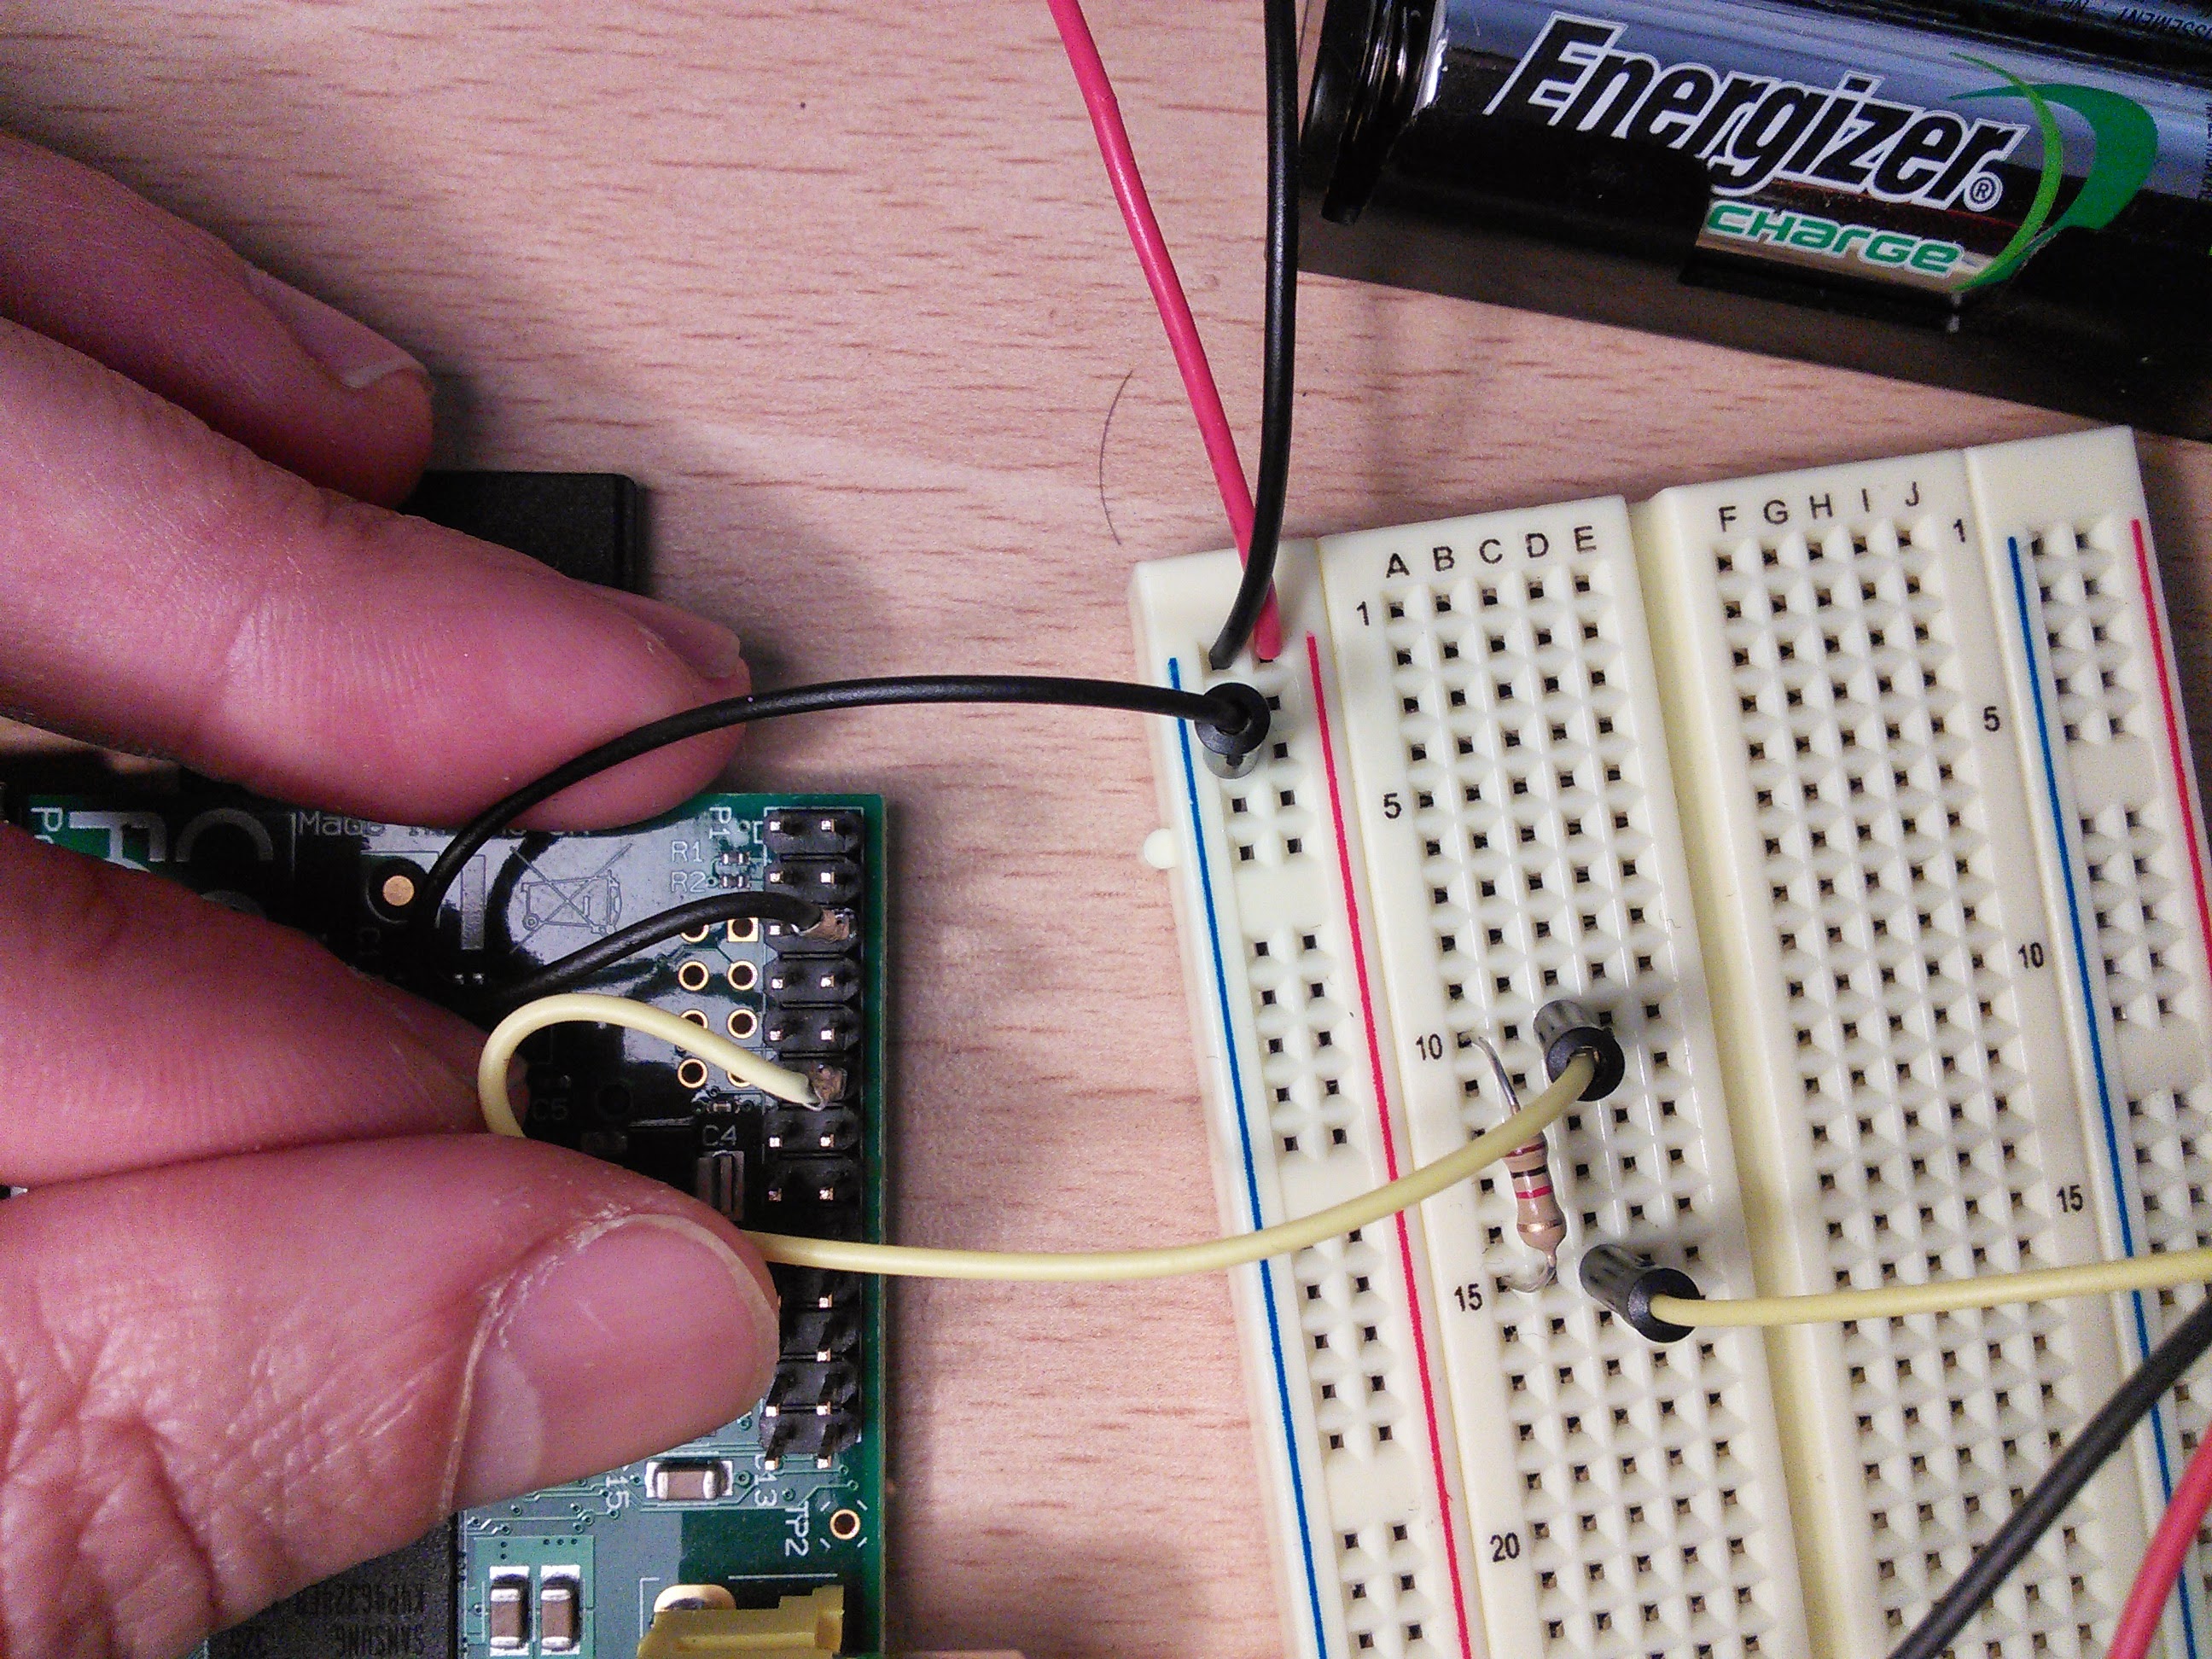
The red (+) of the batteries are connected to the red (+) cable of the servo, and the black (-) of the batteries are connected to the black (-) of the servo AND to the ground (-) of the Raspberry Pi. The yellow wire of the servo is connected to the resistor and the resistor is connected to the GPIO pin 1 of the Pi.
A diagram of the circuit is shown in Figure 1:
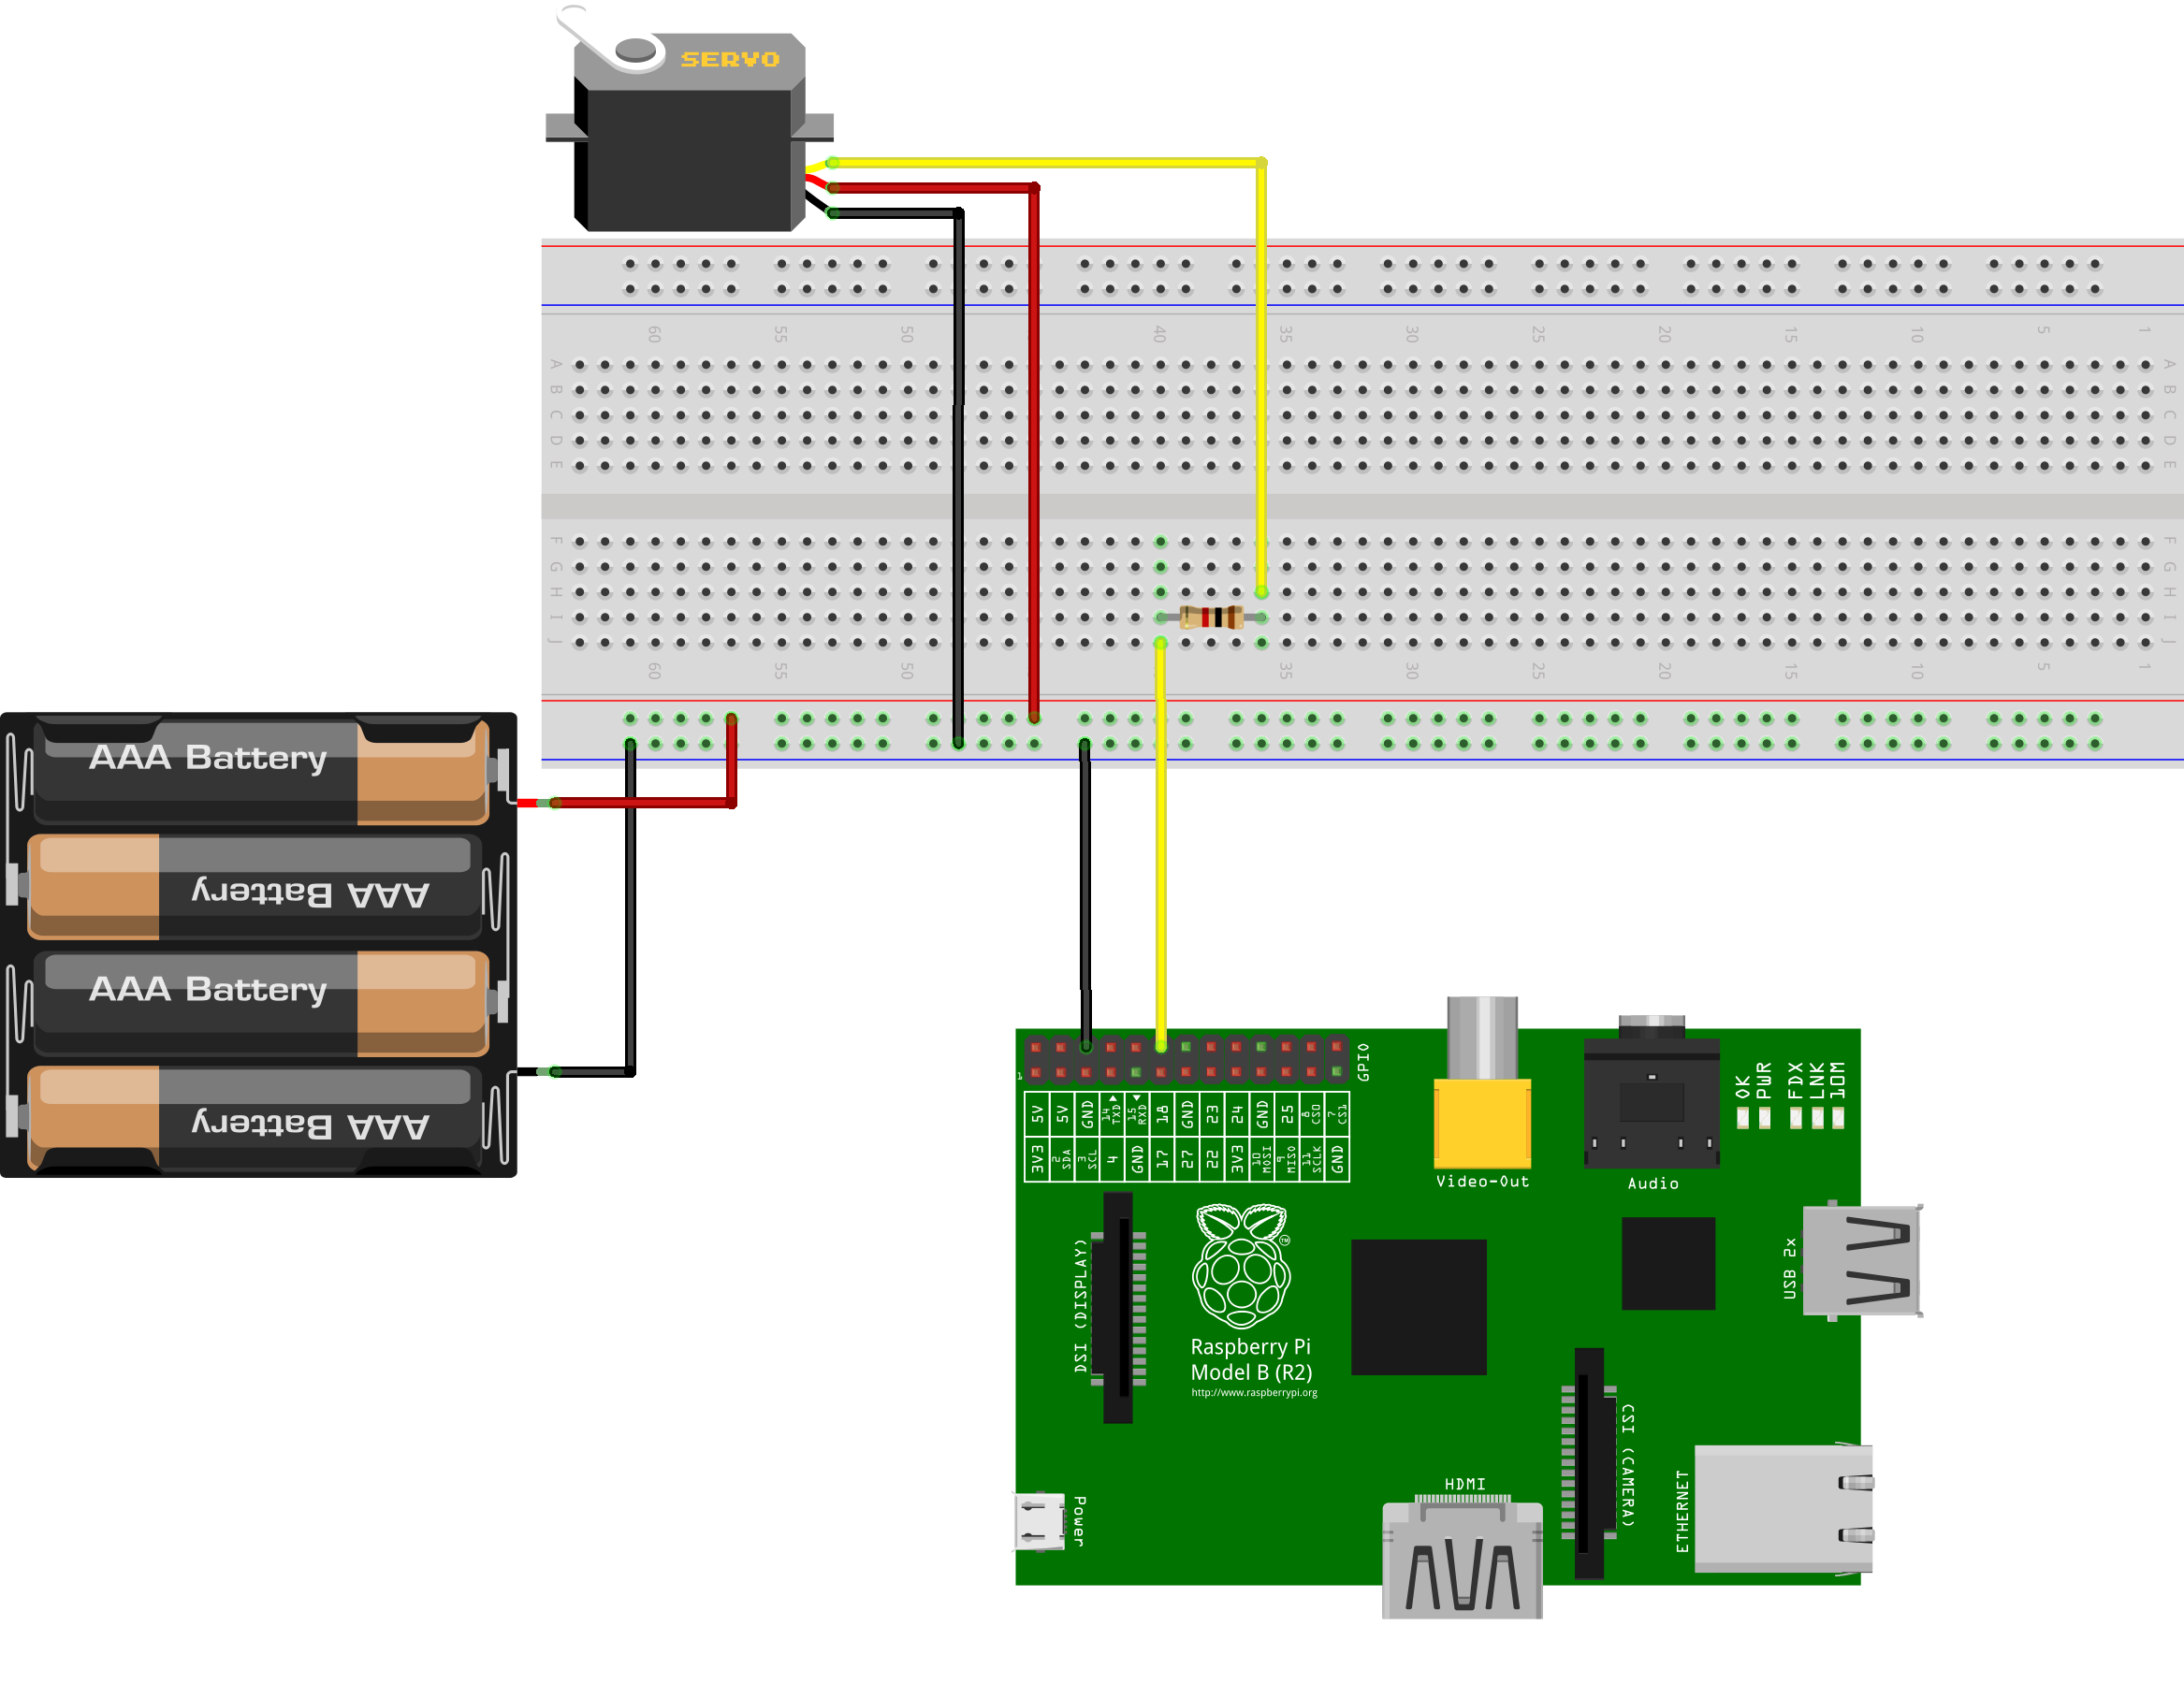
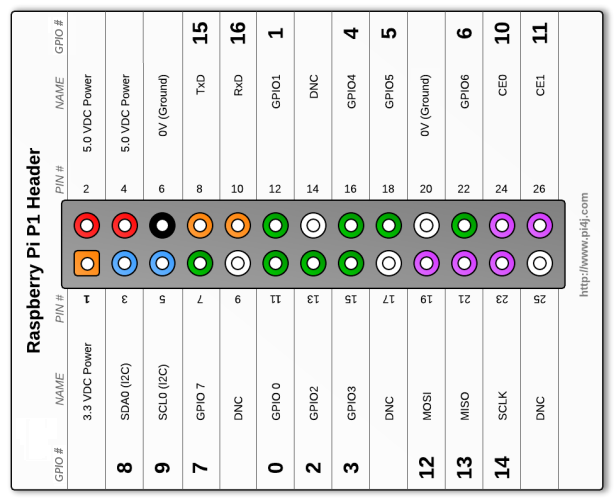
The Black wire should be connected to the pin number 6 (Ground) and the yellow wire should be connected to the pin number 12 (GPIO1):
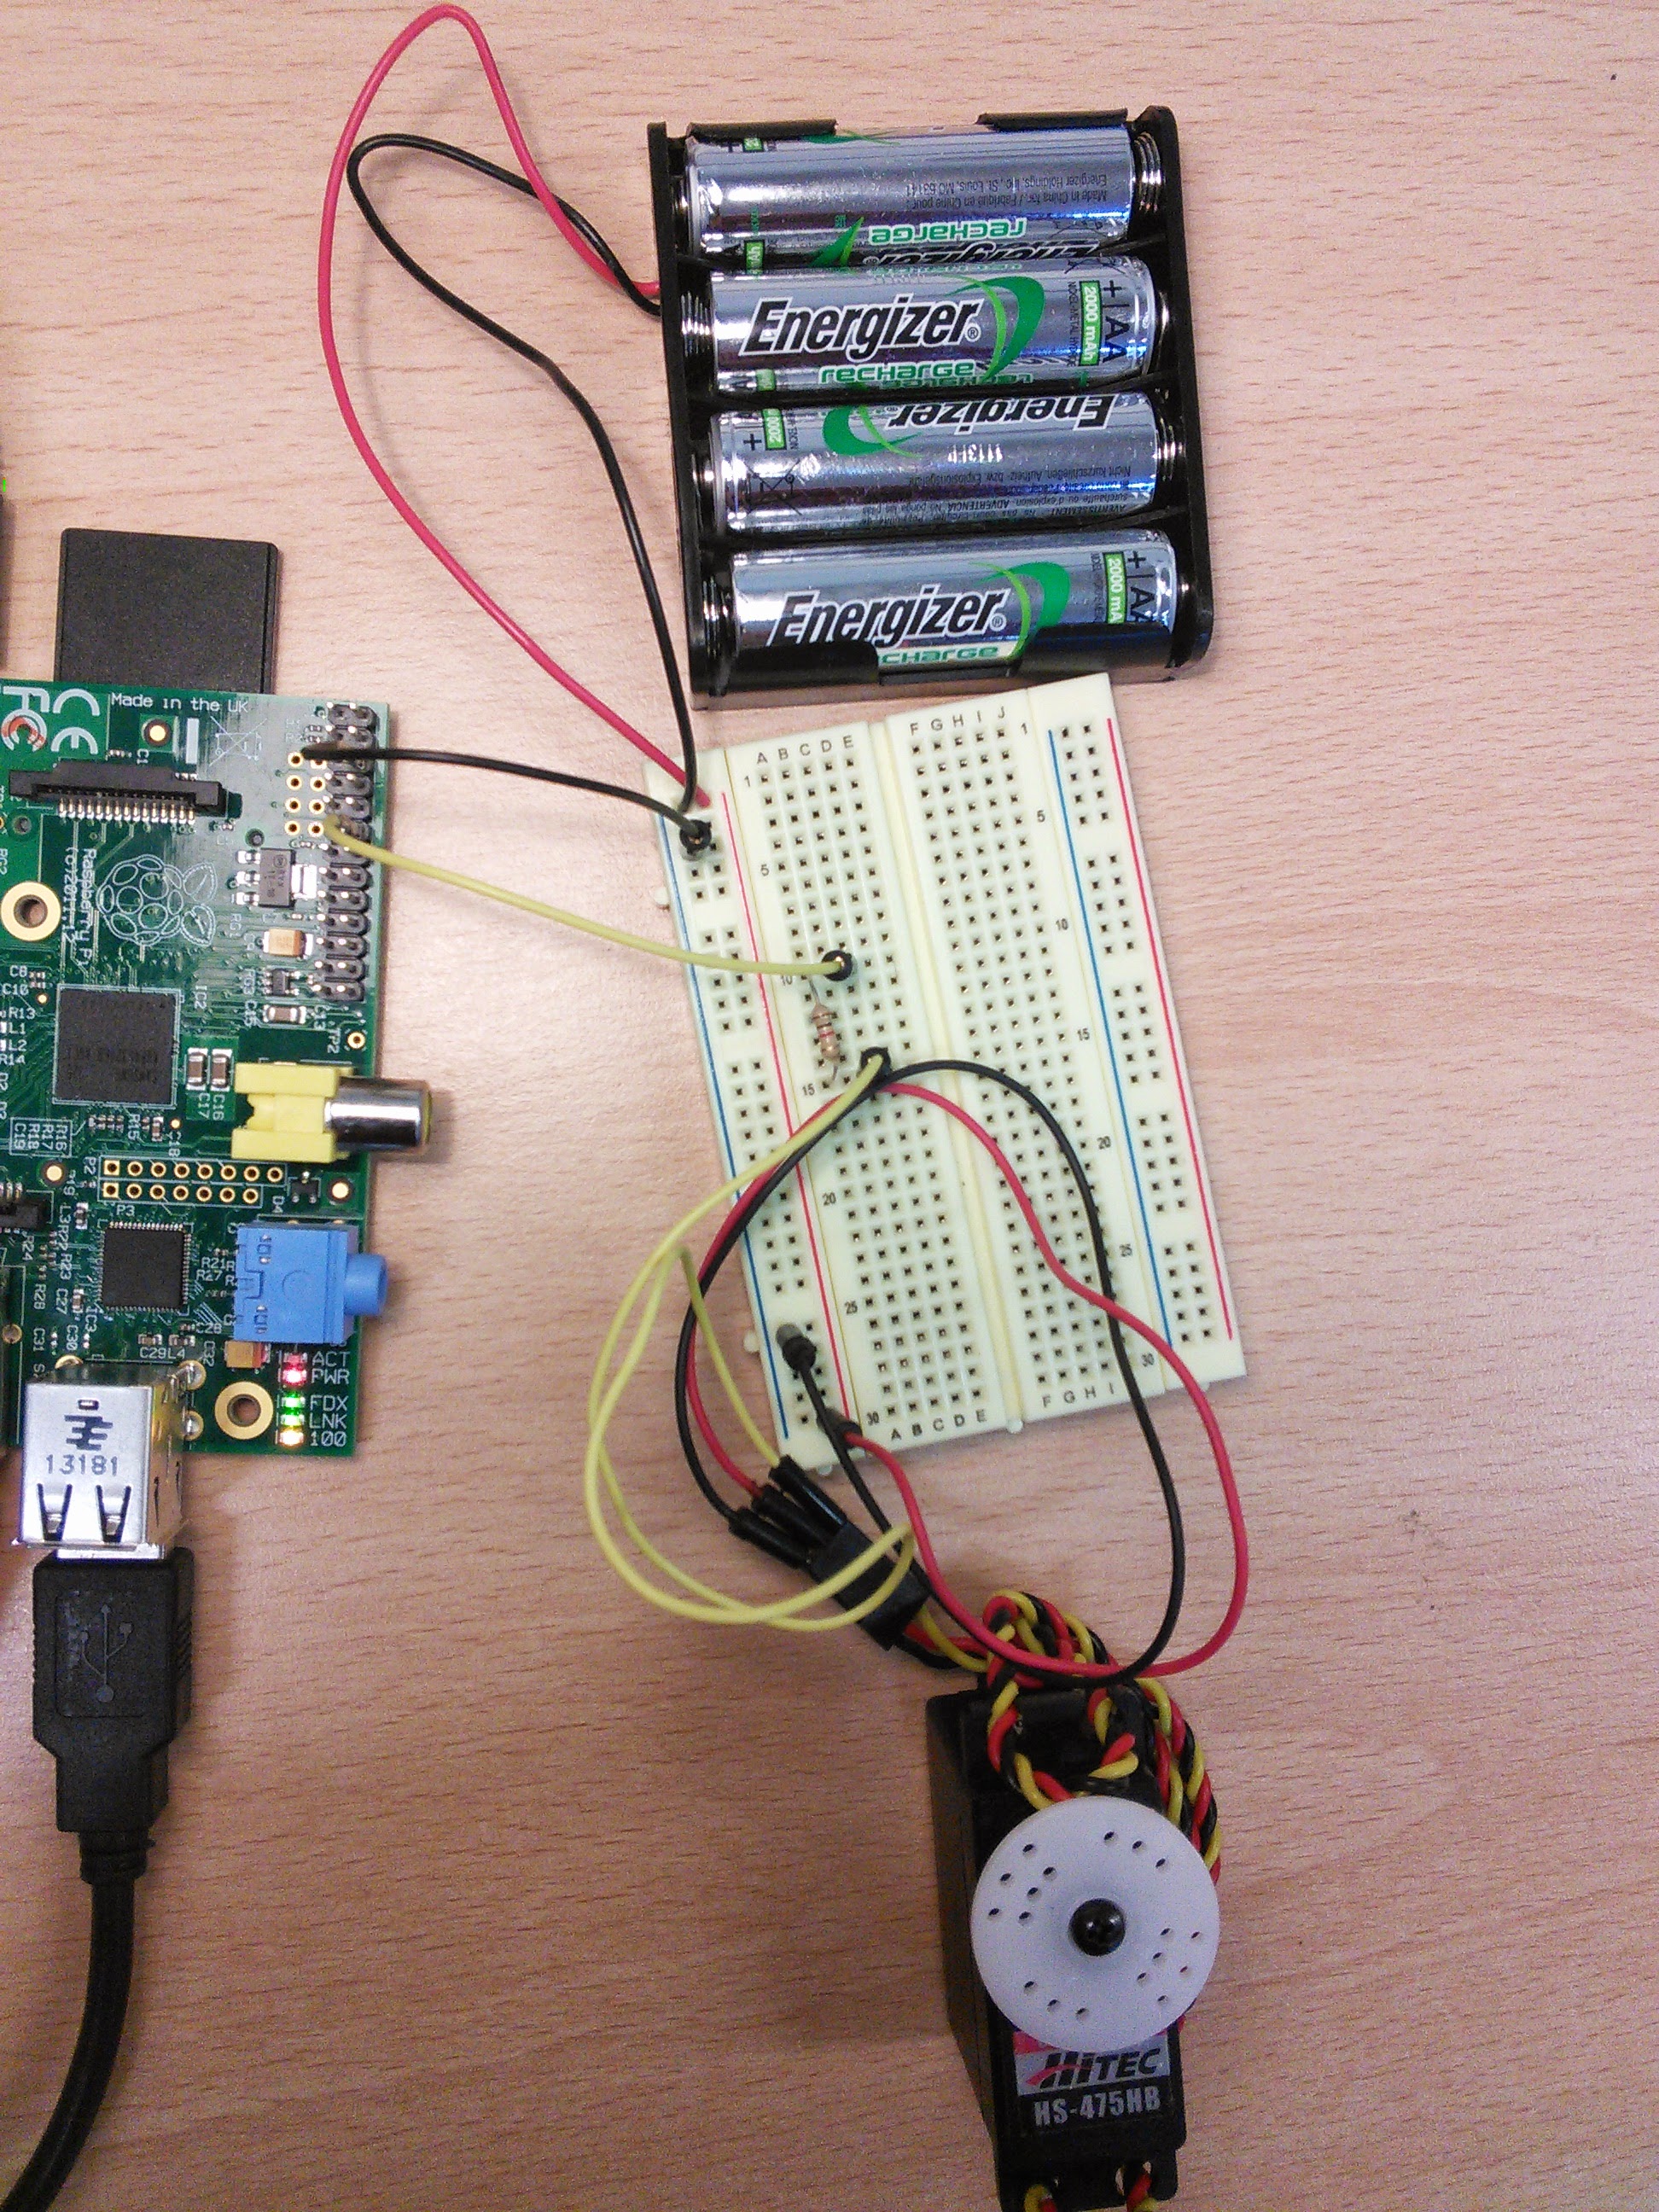
Here is how the connections should look like:
Code
In BlueJ, open the project ServoMotor. Your screen should look like this:
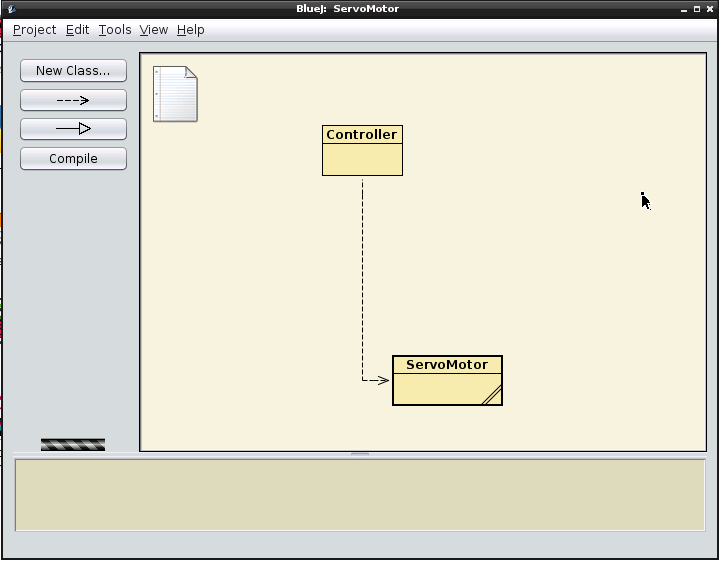
Just like in the previous tutorial, each of the yellow boxes in the BlueJ screen above is a Java class. The Servo_motor class represents a real servo motor connected to the Raspberry Pi.
The Controller class is a skeleton class which we will be using in this tutorial to contain code which will control ServoMotor objects.
Creating a new ServoMotor object
Before we start to write code, we'll see how the ServoMotor class affects the real servo motor by using BlueJ to control it directly.
To start, right-click on the ServoMotor class and from the pop-up menu, choose:
new ServoMotor()
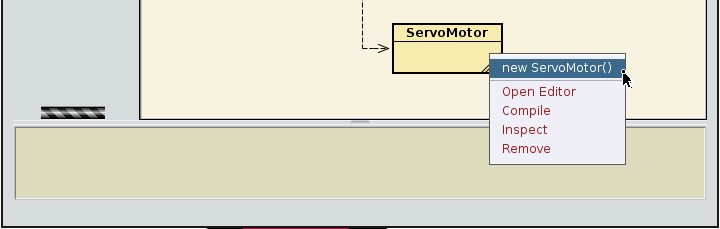
BlueJ will ask for the "name of the instance": the suggested name is good for now. You will see a red rectangle on the bottom left of the BlueJ window named "adjustab1":
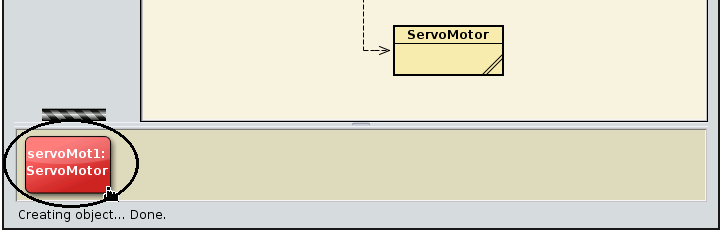
This rectangular red icon represents the "servoMot1" object. This object is the Java representation of the real servo motor connected to the Raspberry Pi.
Changing position of the servo motor
The servo motor has 20 possible positions, represented by integers from 0 to 20, inclusive. To set the ServoMotor to any of those positions, right-click on the "servoMot1" instance and select:void setPosition(int positionNumber)

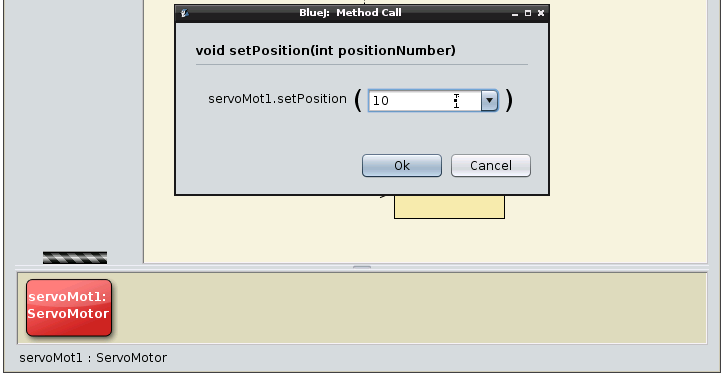
This should set the servo motor to move to the centre. (It might take a moment the first time, as all the behind-the-scenes connections are made).
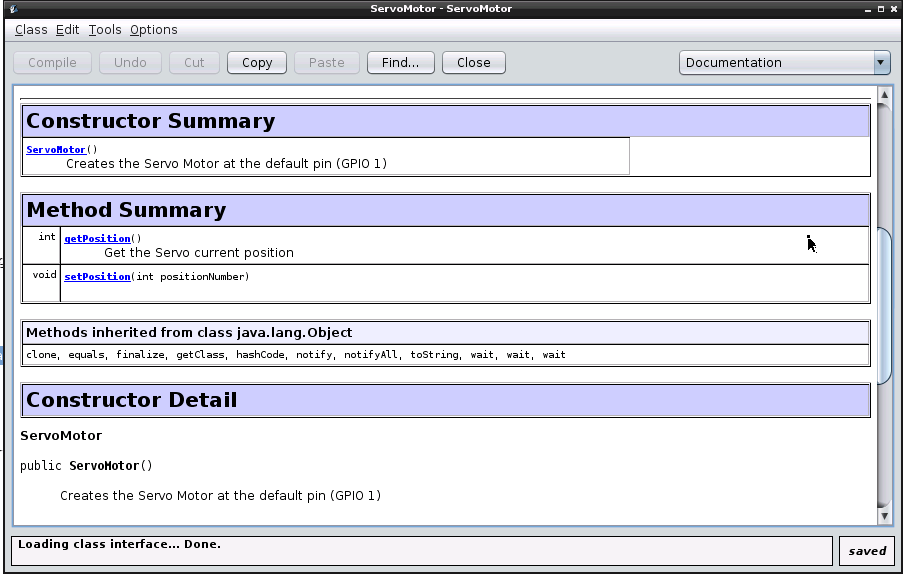
Tip: The ServoMotor Class contains its own documentation showing all the available methods and a brief description of each of them. To see them just double click in the ServoMotor class (yellow box) and its documentation (javadoc) will show up:
Exercises:
- Exercise 4.1: You can write code in the Controller class to do more things with your servo motor. In the Controller class, change the body of the method "void moveRight()" to move the servo motor one position to the right.
Tips:
- To edit the Controller class, double click on the "Controller" yellow box and you will see the source code for the Controller class.
- Important: before testing the changes you make to the Controller class, do not forget to compile your project by clicking on "Compile" on the top left of your editor or on the left panel of the BlueJ main screen:
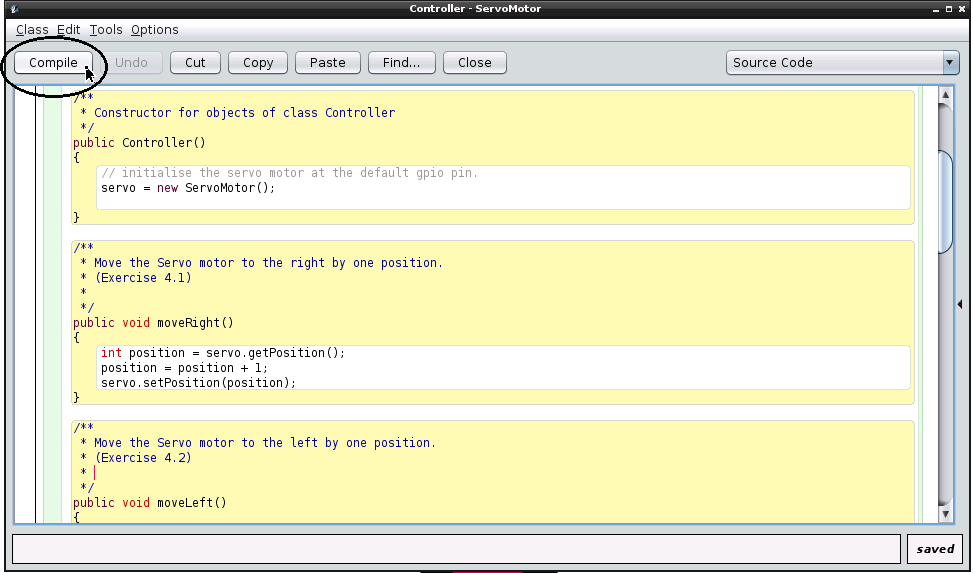
Figure 14: Controller class: Click on the Compile button before testing.
- To test the changes in your Controller class, make an instance of the Controller by right-clicking on the class, just like we did with the ServoMotor class, and then right-clicking on the red Controller instance to call the methods you have just changed.
Tip: The Controller class has the method:
int generateRandomNumber(int max)This method returns an integer from 0 to max. Use this method in order to help you creating your magic 8 ball.
Tip: In order to wiggle, you may want to move the servo motor, then wait a little bit before moving it back. You may want to use the following method in the Controller class:
sleepMillisec(int time)
This method can be used in order to make your program wait a given number of milliseconds.
Be aware: 1 millisecond is a very short time.